

Grandma’s Chocolate Pie
Grandma’s Chocolate Pie is more than just a dessert; it’s a cherished family tradition that brings back sweet memories of gatherings and celebrations. This delightful pie has been passed down through generations, each slice telling a story of love and comfort. The rich, velvety chocolate filling, nestled in a flaky crust, creates a perfect harmony of flavors that dance on your palate.
What makes Grandma’s Chocolate Pie so beloved is not just its indulgent taste and creamy texture, but also the convenience it offers. Whether it’s a holiday feast or a simple weeknight dinner, this pie is a crowd-pleaser that never fails to impress. People adore how easy it is to whip up, yet it feels like a special treat that elevates any occasion. With every bite, you can taste the nostalgia and warmth that only a homemade dessert can provide. So, let’s dive into the recipe and bring a slice of Grandma’s love to your table!
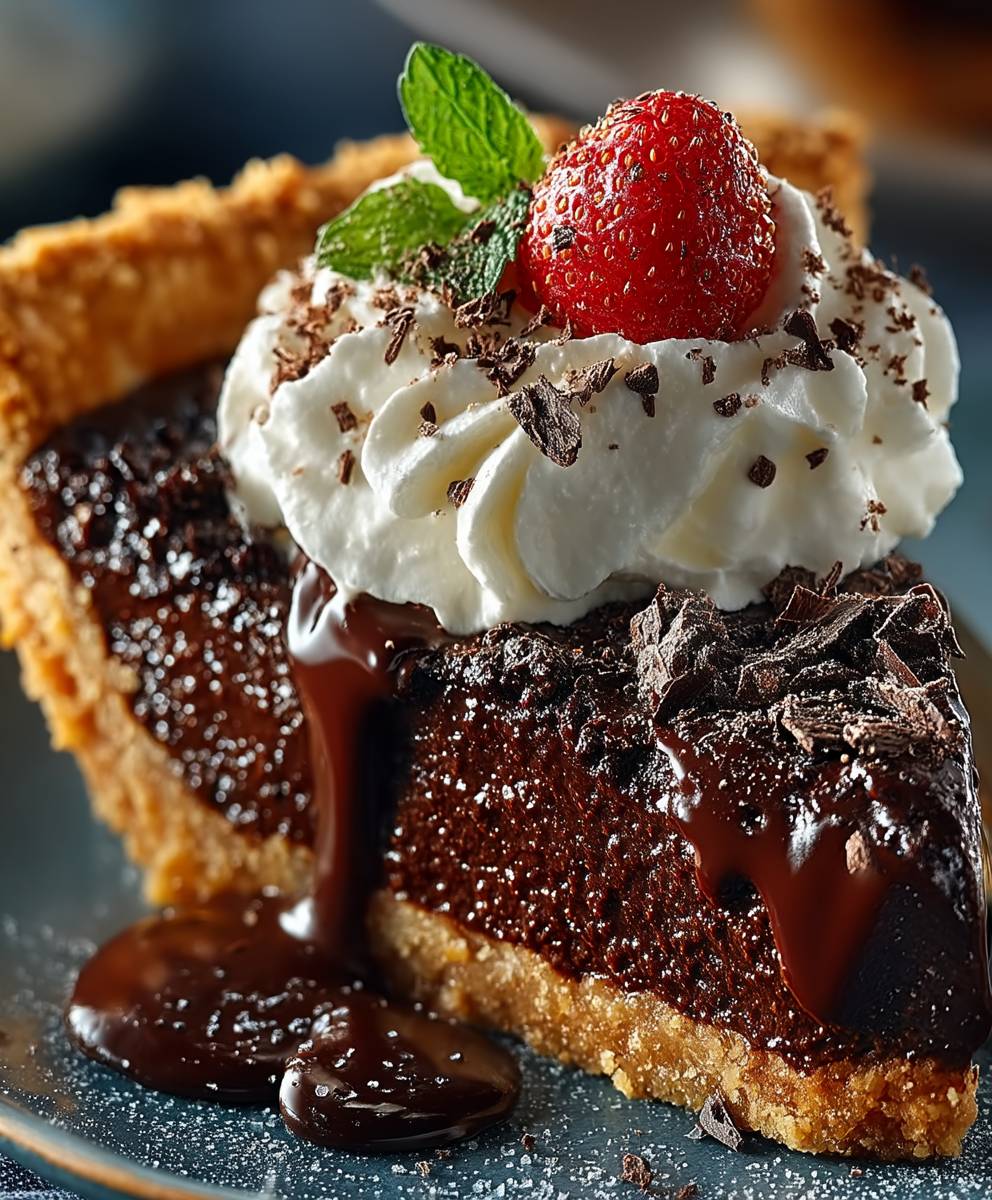
Ingredients:
- 1 pre-made pie crust (9-inch)
- 1 cup granulated sugar
- 1/3 cup unsweetened cocoa powder
- 1/4 cup cornstarch
- 1/4 teaspoon salt
- 2 3/4 cups whole milk
- 3 large egg yolks, lightly beaten
- 2 tablespoons unsalted butter
- 1 teaspoon vanilla extract
- Whipped cream, for topping (optional)
- Chocolate shavings or cocoa powder, for garnish (optional)
Preparing the Filling
- In a medium saucepan, combine the granulated sugar, cocoa powder, cornstarch, and salt. Whisk these dry ingredients together until they are well blended.
- Gradually add the whole milk to the dry mixture, whisking continuously to prevent lumps from forming. Make sure the mixture is smooth and well combined.
- Place the saucepan over medium heat and continue to whisk the mixture as it heats. It’s important to keep stirring to avoid any sticking or burning at the bottom.
- Once the mixture begins to thicken and bubble, reduce the heat to low. Allow it to cook for an additional 2-3 minutes, stirring constantly.
- In a separate bowl, lightly beat the egg yolks. Once the chocolate mixture has thickened, take a small amount of the hot mixture and slowly whisk it into the egg yolks. This process is called tempering and will prevent the eggs from scrambling.
- After tempering the egg yolks, pour the egg mixture back into the saucepan with the chocolate mixture. Stir well to combine.
- Continue to cook the filling over low heat for another 2-3 minutes, stirring constantly until it is thick and creamy. You’ll know it’s ready when it coats the back of a spoon.
- Remove the saucepan from the heat and stir in the unsalted butter and vanilla extract. Mix until the butter is fully melted and incorporated into the filling.
Preparing the Pie Crust
- If you are using a pre-made pie crust, follow the package instructions for baking. Typically, you will need to preheat your oven to 350°F (175°C).
- Place the pie crust in a 9-inch pie dish and prick the bottom with a fork to prevent bubbling.
- Bake the crust for about 10-12 minutes or until it is lightly golden. Keep an eye on it to ensure it doesn’t over-bake.
- Once baked, remove the crust from the oven and let it cool completely on a wire rack.
Assembling the Pie
- Once the chocolate filling has cooled slightly, pour it into the cooled pie crust. Use a spatula to spread it evenly.
- Cover the pie with plastic wrap or aluminum foil, making sure it doesn’t touch the filling to prevent a skin from forming.
- Refrigerate the pie for at least 4 hours, or overnight if possible. This will allow the filling to set properly.
Serving the Pie
- Once the pie has set, remove it from the refrigerator. If desired, you can top it with whipped cream for an extra touch of sweetness.
- To garnish, sprinkle chocolate shavings or a dusting of cocoa powder on top of the whipped cream.
- Using a sharp knife, slice the pie into wedges. Serve each slice on a plate, and enjoy the rich, chocolatey goodness!
Storage Tips
- If you have any leftovers, cover the pie with plastic wrap and store it in the refrigerator. It will keep well for up to 3 days.
- For longer storage, you can freeze the pie. Wrap it tightly in plastic wrap and then in aluminum foil. It can be frozen for up to 2 months. Thaw it in the refrigerator before serving.
Variations and Tips
- For a richer flavor, consider adding a

Conclusion:
If you’re looking for a dessert that embodies comfort and nostalgia, Grandma’s Chocolate Pie is an absolute must-try. This recipe not only brings back fond memories of family gatherings but also delivers a rich, velvety chocolate experience that is sure to impress anyone who takes a bite. The combination of a flaky crust and a luscious chocolate filling creates a delightful contrast that is simply irresistible. Whether you’re celebrating a special occasion or just indulging in a sweet treat after dinner, this pie is the perfect choice.
For serving suggestions, I recommend pairing this decadent pie with a dollop of freshly whipped cream or a scoop of vanilla ice cream. The creaminess of the ice cream complements the rich chocolate flavor beautifully, while the whipped cream adds a lightness that balances the pie’s richness. You can also sprinkle some chocolate shavings or crushed nuts on top for an extra touch of elegance and texture. If you’re feeling adventurous, consider adding a hint of espresso or a splash of peppermint extract to the filling for a unique twist that will surprise your taste buds.
One of the best things about Grandma’s Chocolate Pie is its versatility. You can easily customize it to suit your preferences or dietary needs. For a gluten-free option, simply use a gluten-free pie crust, and for a dairy-free version, substitute the milk and butter with plant-based alternatives. You can also experiment with different types of chocolate—dark, milk, or even white chocolate—to create a flavor profile that you love. The possibilities are endless, and that’s what makes this recipe so special.
I encourage you to try making Grandma’s Chocolate Pie for yourself. It’s a straightforward recipe that yields impressive results, and I promise you won’t be disappointed. Once you take that first bite, you’ll understand why this pie has been a cherished family favorite for generations. Plus, it’s a fantastic way to create new memories with your loved ones as you gather around the table to enjoy a slice together.
After you’ve made the pie, I would love to hear about your experience! Did you stick to the classic recipe, or did you try out some of the variations? Share your thoughts and any tips you might have in the comments below. Your feedback not only helps me but also inspires others to dive into the joy of baking. So roll up your sleeves, gather your ingredients, and let’s make some delicious memories with Grandma’s Chocolate Pie!
Grandma's Chocolate Pie: A Delicious Family Recipe to Savor
This rich and creamy chocolate pie features a smooth chocolate filling in a flaky crust, making it the perfect dessert for any occasion. Satisfy your chocolate cravings with this indulgent treat!
Ingredients
- 1 pre-made pie crust (9-inch)
- 1 cup granulated sugar
- 1/3 cup unsweetened cocoa powder
- 1/4 cup cornstarch
- 1/4 teaspoon salt
- 2 3/4 cups whole milk
- 3 large egg yolks, lightly beaten
- 2 tablespoons unsalted butter
- 1 teaspoon vanilla extract
- Whipped cream, for topping (optional)
- Chocolate shavings or cocoa powder, for garnish (optional)
Instructions
- In a medium saucepan, combine the granulated sugar, cocoa powder, cornstarch, and salt. Whisk these dry ingredients together until they are well blended.
- Gradually add the whole milk to the dry mixture, whisking continuously to prevent lumps from forming. Ensure the mixture is smooth and well combined.
- Place the saucepan over medium heat and continue to whisk the mixture as it heats, stirring to avoid sticking or burning at the bottom.
- Once the mixture begins to thicken and bubble, reduce the heat to low. Cook for an additional 2-3 minutes, stirring constantly.
- In a separate bowl, lightly beat the egg yolks. Once the chocolate mixture has thickened, take a small amount of the hot mixture and slowly whisk it into the egg yolks to temper them.
- Pour the tempered egg mixture back into the saucepan with the chocolate mixture. Stir well to combine.
- Continue to cook the filling over low heat for another 2-3 minutes, stirring constantly until it is thick and creamy, coating the back of a spoon.
- Remove the saucepan from the heat and stir in the unsalted butter and vanilla extract until fully melted and incorporated.
- Preheat your oven to 350°F (175°C) if using a pre-made pie crust.
- Place the pie crust in a 9-inch pie dish and prick the bottom with a fork to prevent bubbling.
- Bake the crust for about 10-12 minutes or until lightly golden. Keep an eye on it to avoid over-baking.
- Once baked, remove the crust from the oven and let it cool completely on a wire rack.
- Once the chocolate filling has cooled slightly, pour it into the cooled pie crust. Use a spatula to spread it evenly.
- Cover the pie with plastic wrap or aluminum foil, ensuring it doesn’t touch the filling to prevent a skin from forming.
- Refrigerate the pie for at least 4 hours, or overnight if possible, to allow the filling to set properly.
- Once the pie has set, remove it from the refrigerator. Top with whipped cream if desired.
- Garnish with chocolate shavings or a dusting of cocoa powder on top of the whipped cream.
- Slice the pie into wedges using a sharp knife, serve each slice on a plate, and enjoy!
Notes
- For a richer flavor, consider adding a splash of coffee or espresso powder to the filling.
- You can also experiment with different toppings, such as crushed nuts or fresh berries.



Leave a Comment